Nobody Ever Got Thrown Because They Prepared Too Well
Rodeo taught me that the ride is decided long before the gate opens. Remodeling works exactly the same way. Here is the process, step by step, including the parts most people skip.
Walk It Before Anybody Prices It
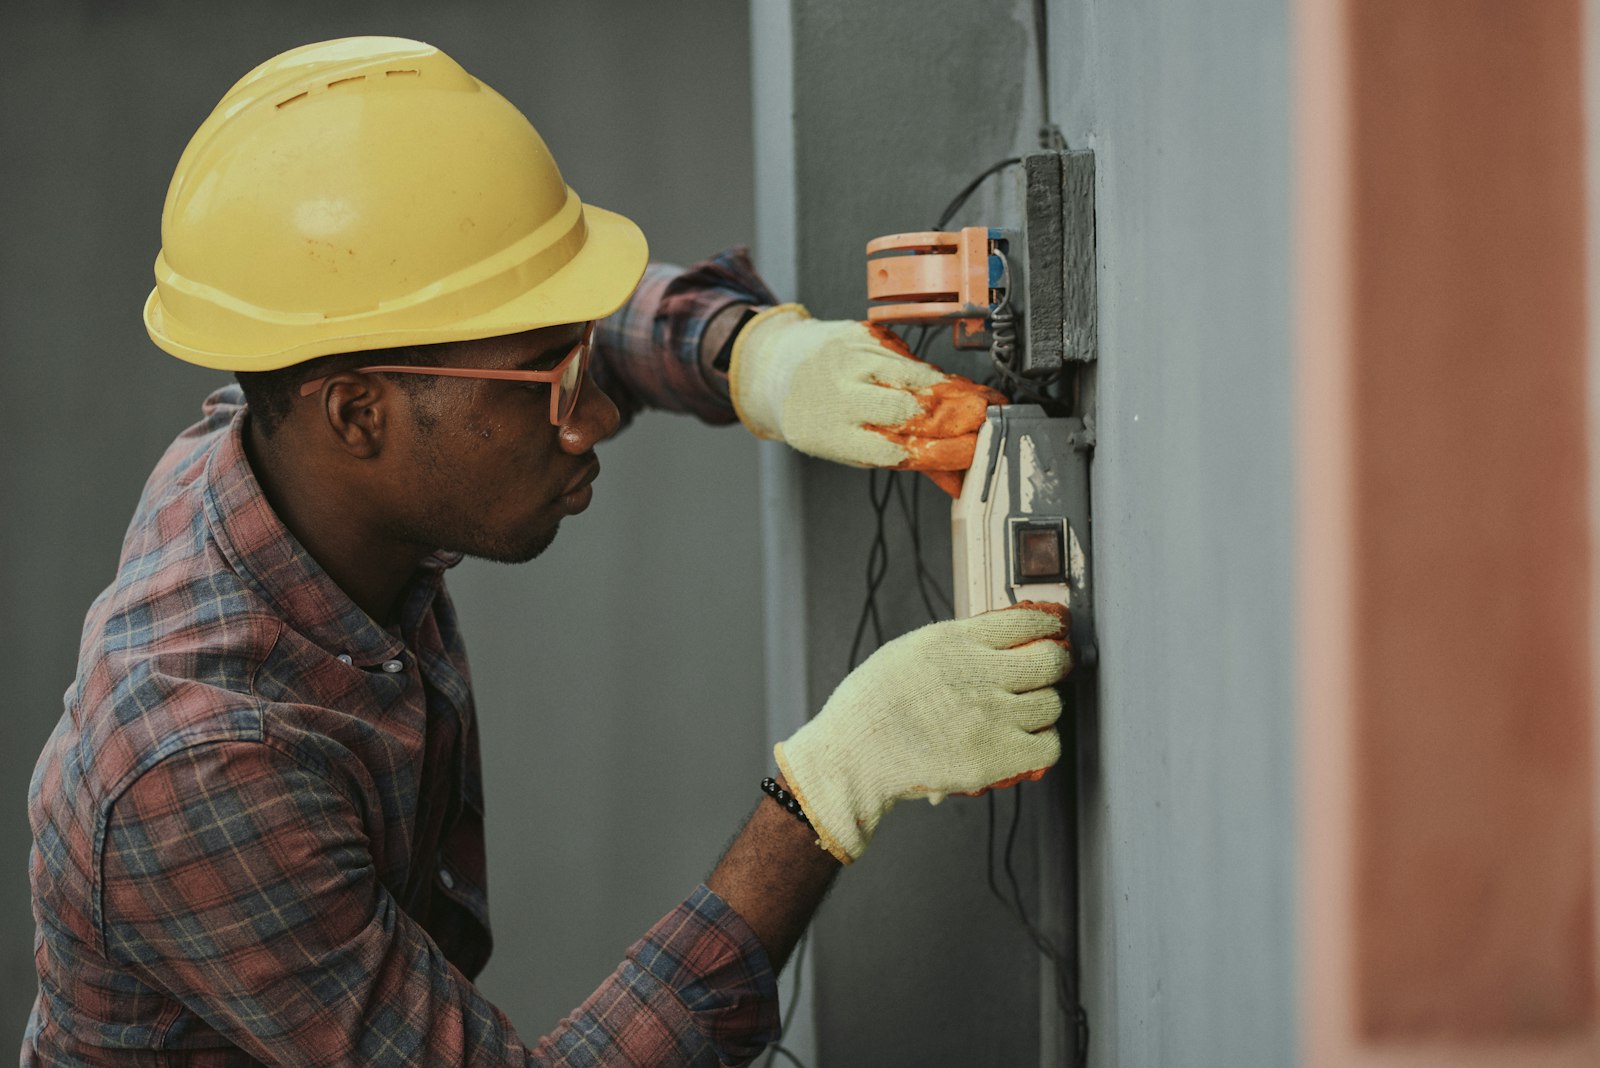
The first visit is not a sales call. It is an inspection. I want to see the electrical panel, the attic, the crawlspace or basement, the exterior grade, and the ugly corner you were quietly hoping nobody would look at. I open cabinet doors. I run water. I look at the ceiling below every bathroom.
This is where projects get saved. Undersized service, a water heater at the end of its life, framing somebody notched out for a duct run twenty years ago, grade sloping toward the foundation. Every one of those changes the plan, and every one of them is cheaper to know about now.
You will also get asked a lot of questions about how you live. Those answers matter more to the final result than any product decision we will make later.
Price It Honest, and Put It in Writing
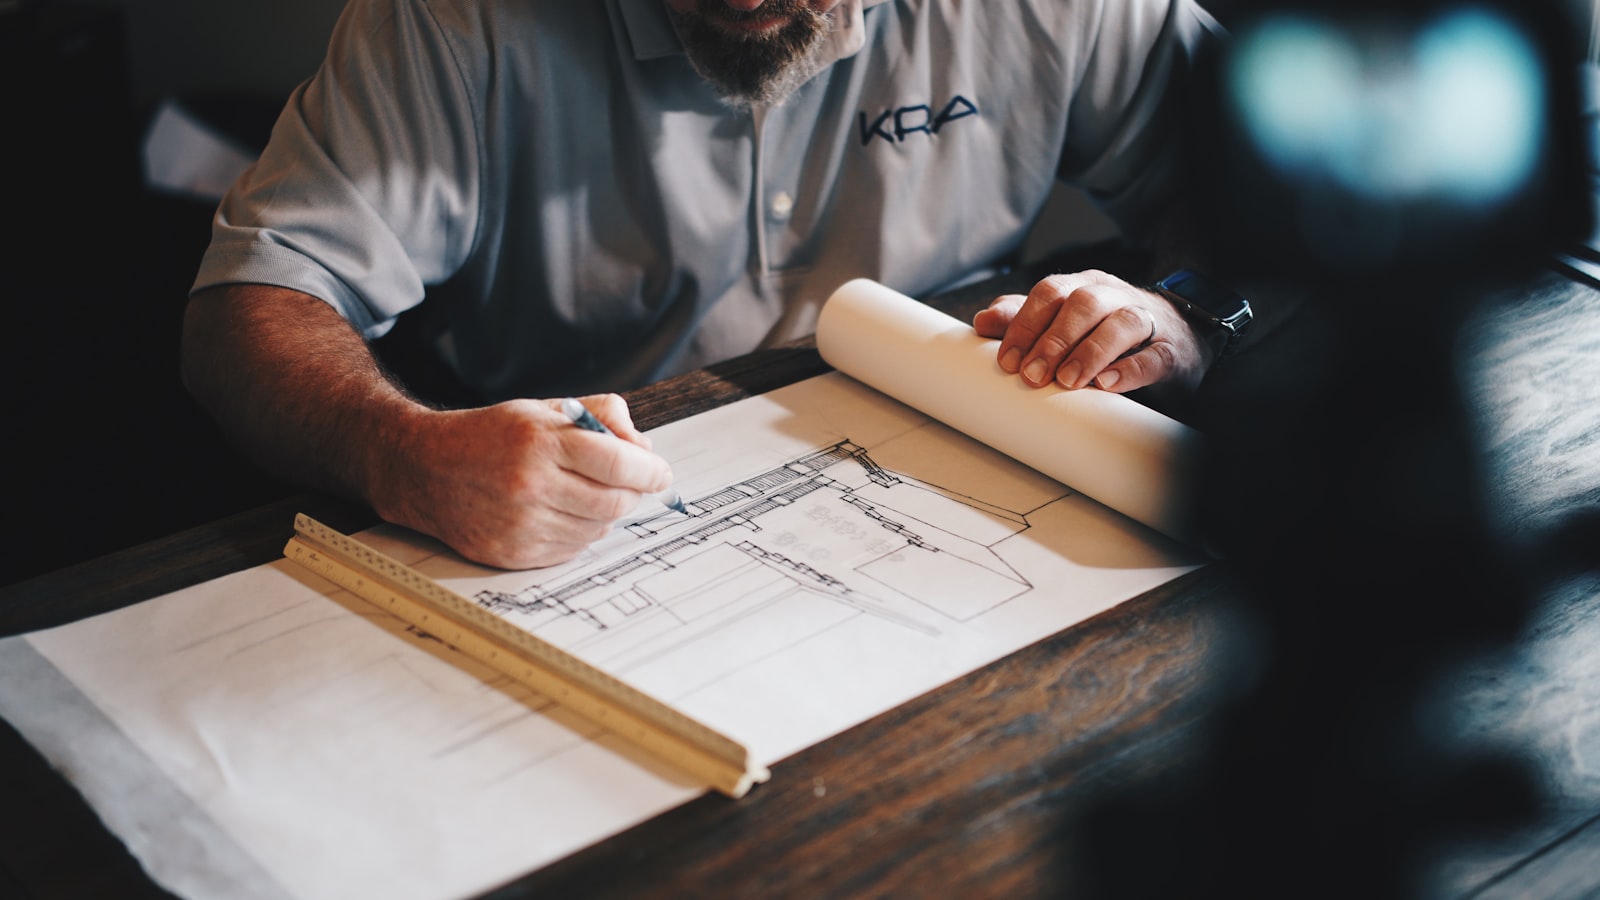
A real estimate separates labor from materials, names specific allowances instead of vague placeholders, and states plainly what is excluded. It also identifies where a number could move and why. If demolition might reveal rot in a rim joist, that possibility gets written down with a range attached before you commit to anything.
Every scope I write includes a contingency line. Not because I expect problems, but because older houses hide things and pretending otherwise is how projects end in an argument. A contingency you do not spend comes back to you. One you never budgeted comes out of the finishes.
You also get a payment schedule tied to milestones, not to the calendar. Money moves when work is complete and inspected, which keeps everybody honest including me.
Build It Once, In the Right Order
Construction has a natural sequence and fighting it costs money. Structure before systems. Systems inspected before insulation. Insulation and drywall before flooring. Flooring before trim and paint in most cases, though there are exceptions and I will explain them when they come up.
Certain moments are non-negotiable checkpoints. Rough-in inspection before anything gets covered. A flood test on a shower pan before tile. A blower door or at minimum a careful air sealing pass before drywall on any project touching the building envelope. These add days, not weeks, and they are the difference between a house that performs and one that merely looks finished.
Through all of it you get updates in language a normal person can act on, plus photos of the work while the walls are still open. Those photos are worth keeping for as long as you own the house.
Sign Off Together, and Mean It
The final walkthrough is not a formality. We go room to room with a punch list, and I want you looking closely enough to find things. A door that binds slightly in humid weather. A paint edge that is not quite crisp. A drawer that does not close with the same weight as the one beside it. Those get written down and fixed before the job is called finished.
You also get a closeout package: paint colors and sheens, product model numbers, warranty documents, permit records, and the photos from before the walls closed. Five years from now when you want to hang a heavy mirror or track down a matching tile, that file is the most valuable thing I hand you.
Then I check back in. Six months later, a seasonal cycle has run through the house and anything that was going to move has moved. That call is included, and it is the last promise of the method: I am not gone the moment the check clears.
How the Method Holds Up Under Pressure
What happens if the project runs over budget?
How do change orders work?
Can I make changes once the work has started?
Who is actually on site day to day?
What if I only want part of the method?
Step One Is a Conversation
No obligation, no pressure, and no quote until somebody has actually looked at the space. Tell me what you are thinking about and we will go from there.